Astrophotography - Nightscapes
- Simon Pugsley
- Oct 28, 2023
- 5 min read
Updated: Nov 6, 2023
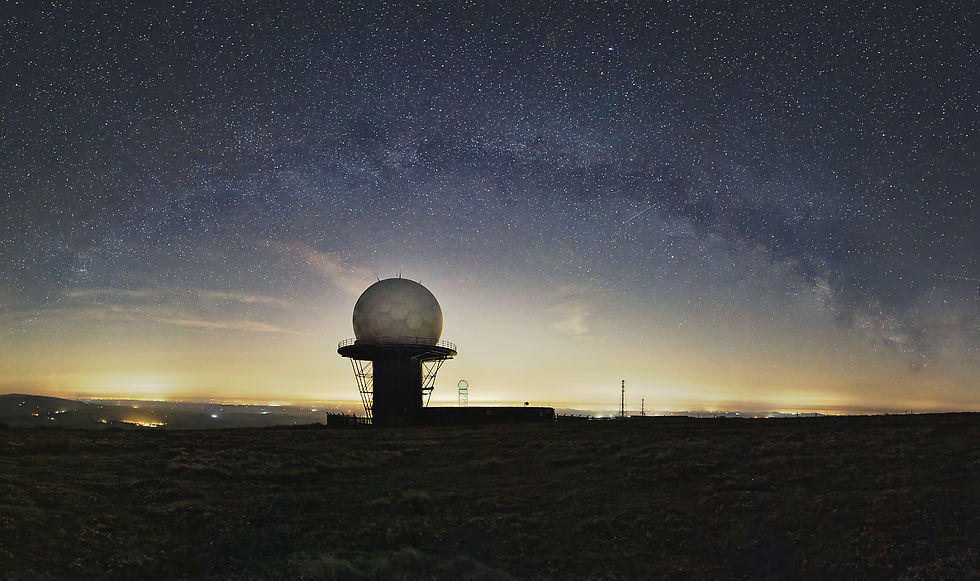
Nightscapes are a good entry into astrophotography, all you need is your camera, be it a dslr/ mirrorless, compact or even a phone, and a tripod. All the considerations of planning for weather, timing and location apply, which were covered in “Astrophotography – an Introduction”.
Techniques include; one shot images, panoramas, light painting, taking separate exposed/focused shots for the foreground and the sky, or stacking by taking multiple images of the same shot to stack them either to produce star trails or reduce noise.
One-shot images
With the improvement of noise reduction in software like DXO, Photoshop, Capture One and Topaz, using a high ISO has become less of an issue for one shot night scape images.

Whilst I had gone out to shoot the stars, Star Property was very much an opportunist shot. The cloud forecast didn’t work out at my original location, and it was only when I was driving home that I noticed this shed and gap in the cloud revealing Orion and Venus. It was a bit of a race to park up, get my tripod and camera out and find the right composition whilst avoiding car lights going past, before the cloud came across. In photo editing I have lightened the shadows to reveal more of the shed detail and applied a bit of contrast and noise reduction.

Forge Alignment was a planned shot of the Moon, Jupiter and Venus in alignment. I had received alerts via Sky Walk 2 and saw Alyn Wallace talk about it on his YouTube WITNS channel. It was however a rush as I was late home and so had to find a composition nearby before Venus disappeared below the horizon. It's not the greatest image, but I wouldn’t have got it at all had I not known about it. This image would have been improved had I taken 2 images, one exposed and focused for the foreground and the other for the sky.
Panorama
This is a useful technique when your wide lens is not wide enough!
Here the Milky Way is low on the horizon and stretches from North to South. Stitching the Stars is the first time I had tried a panorama and consists of 8 shots. I took each shot with the camera in portrait position and shot from right to left making sure each image overlapped the previous one, and that the first and last shots were wider than what I would eventually crop. Most photo editing software can create panoramas and is as easy as selecting your images and choosing create panorama. Once stitched I then applied my edits to emphasize the milky way and combat the light pollution.
Light Painting
Light painting is simply using a light source to brighten your foreground subject whilst the camera is taking an exposure. It’s very much a trial and error and influenced by the light source, I use my head torch and just waved it around on the subject for a couple of seconds whilst the image was taking.
Exposures for Foreground and Sky

Far Out Man was taken at Clee Hill (as was Stitching the stars) it’s about a 1-hour drive from Redditch and has lots of opportunities for compositions and a Bortle 4 sky. You do need a head torch and boots for the terrain.
This is a composite of two images, similar to bracketing, one exposed and focused for the foreground and one exposed and focused for the milky way. I also tried light painting with my head torch for the first time to bring out more of the vibrancy and detail in the graffiti. I then took the same image without the torch and focused for the sky and merged the two in Affinity photo using layers.
For those unfamiliar with Layers, they are easy to work with. This is how in Affinity Photo;
Import both images.
Select the image with your exposed foreground and choose the Selection Tool to brush over the foreground you want to use until it's all selected.
Use Refine to brush the edges (mostly if there are trees in the foreground), and then save as a new layer.
Select the background image (the sky one) and copy and paste it into your foreground workflow.
Move the copied background image to below the foreground layer.
Adjust the size of the images using the Move Tool to align the two images perfectly.
Then apply any additional adjustments to the whole image.

Stacking
Stacking is a technique used in deep sky object photography but is also used to increase detail and reduce noise in nightscapes. Whilst stacking can be done in standard photo editing software it is time consuming, however there is software that takes the pain out of stacking. For Windows PC users the good news is its free and called Sequator. Unfortunately, Mac users must pay for Starry Night Stacker (about £25 I believe).
Sequator (google.com) has the download and instruction manual so I won’t go into too much detail here.
There are two affects you can create with stacking; star trails, or to align stars for a better-quality image.
Stacking for Star Trails
The more images (I’d say minimum 100) you take the greater the effect. The longer the shutter speed the longer the trail, but make sure you don’t blow the highlights. The speed will depend on your focal length. In this first attempt I only went 20 seconds, but now I’d start at 30 seconds take some test shots and see how low the ISO could go. There are a few methods for taking lots of photos.
Set 2 second timer and press the camera button 100 times.
Use a remote shutter release and press 100 times.
In camera intervalometer (not all cameras have this) where you set the time between each shot and the number of shots to take. Press to start and the camera takes the shots.
An external intervalometer, same principle as the in camera one.
Using Sequator to stack my images (raw, jpeg or tiff) I added 100 Star Images and selected where I want to save the Output. I chose the Composition “Star Trails” and selected the Motion effect, then Start to run stacking. It takes between 30-60 seconds depending on the size and complexity of the files.

The output file is in tiff format which you can then apply your own adjustments in your photo processing software.

I used DXO Photolabs to adjust the white balance, contrast, highlights and midtones.

Stacking for Star Alignment
Between 5 and 10 images all taken with the same settings will produce great results once stacked. Don’t worry about taking Noise (darks and biases) or Vignettes (flats), I’ll talk about these Deep Sky Objects blog.
In Sequator I selected 5 Star Images and Output file, and chose Composition Align Stars and Freeze Ground and then selected Sky Region, Irregular Mask, Auxiliary Highlight and painted over the sky.

I also chose to Remove Distor Effects on Auto, which will remove the plane lights coming in from the left. Additionally, I chose to switch Auto Brightness on, and Start to run stacking.

Admittedly it doesn’t look much different until you compare side by side, where you can see the noise has mostly been eliminated and puts you in a good position to work on the image.


Swings and Stars was a test image to see if I could get the Milky Way from Redditch and was taken at Morton Stanley Park by the Coffee Hut.
So that’s Nightscapes. I hope you have found some points of interest and I wish you clear skies!


Comments